So this panel is indeed nicer than the stock matte 60Hz one. Viewing angles appear to be a bit better, it's smoother and crisper (which is to be expected in a glossy vs matte comparison).
We'll see if I can live with the reflections, given I often play in brightly-lit rooms, sun shining through the windows, etc.
-
-
be very careful about cable placement from the screen, through the hinge and onto the motherboard
If you look at the screen where the cable leaves the panel and track down a channel that sits behind the hinge. If you pull the panel surround away from the panel that it sits in you will see exactly where the cable needs to go, there is only one deep channel. make sure it goes in there.
you only need to take the screen bezel off and take a few of the screws out that hold the top part into the hinges,Last edited: Aug 5, 2015 -
still waiting for my cable

will have to borrow time for the spyder monitor calibrator thingy
-
oh that's not good, i thought it would have arrived by now....
-
thegh0sts the clocks you are running on your 980m (1260/5600) are they stable for gaming?
and what program do you use to set them? and what do they relate to?
Im thinking of giving them a try
-
for me they're stable after 3 hours of running it on the heaven benchmark on extreme settings. as i am also using prema's vbios so what i did is to use nvidia inspector and i copied the command line stuff in the shortcut and used it to create a scheduled task for it to set the clocks when a user logs in.
EDIT: the cable is on a slow boat from china...urgh!Last edited: Aug 5, 2015 -
I think i might give it a try, can these be done by the sliders in Nvidia Inspector just to give it a try?
-
yeah, the sliders in nvidia inspector is fine. I am also waiting for my replacement fans.
also contemplating a dremel so i can cut out the section that's covering the CMOS battery.
EDIT: what?!!?!? one of my laptop fans is already in the country before my display cable WTF?!?!
EDIT 2: looks like it's my GPU fan
Last edited: Aug 5, 2015 -
Maybe I should try Dell support again.
Sent from my HTC One using Tapatalk -
nothing to lose, is there no where else that sells the cable and can ship it faster?
-
there's aliexpress but they don't seem to take visa debit cards nor do i have an actual credit card to use
EDIT: tried dell and no dice!Last edited: Aug 6, 2015 -
if i don't get a status change by the end of the week i'll have to find other sources.
-
You should give it another try to dell support phone in the US.
But have at hand a US credit/debit card + US based address for delivery. -
This post of yours looks nice on my 120Hz screen.
-
Shakes my fist LOL
Sent from my HTC One using Tapatalk -
3 weeks and nothing
feels like i am getting scammed!
-
now it's been 4 weeks and still nothing so i ordered from another place and will put in a dispute for the package not arriving.
EDIT: I ordered from a 3rd party amazon seller and they shipped it via DHL (sure as hell beats China #@$! Post that's for sure). so i should get it around next week at least.
EDIT: GREAT! Canada post decided to delete my tracking # for the first cable. safe to assume it's been lost....thanks China Post!Last edited: Aug 19, 2015Nomad likes this. -
China still cool - you pay later!
-
I followed the instructions, and was able to do this upgrade with ease, since i live in china, getting hold of parts is super easy.
N392W
LVDS/eDP Cable
50元=7$
XX7CM
IR Emitter (M17x R3/4 works)
68元=10$
Nvidia Vision 2 Glasses (optional)
320元=50$
GN36T
screen LTN173HT02-D02 3D 120hz
368元=57$
note: the 120 screen feels so much better then the standard 1080 screen my aw17 came with. although i feel as if the whites are not nearly as white as they were in the 60hz screen -
These are the only things needed for the upgrade to 120hz right? I'm thinking of starting the upgrade process for my AW.
-
those parts aren't so easy when you don't live in China for sure.
you don't really need the emitter if you don't care for 3D...and if you upgrade to a 980M or a 970M then the emitter won't work anyway. -
I see, and yes I am also looking to upgrade to a 980M afterward I finish the screen upgrade, so I won't be getting the emitter. It does look like our only option is to roll the dice when buying it =/
-
unless alienware release an A15 BIOS to make the 900M cards compatible it won't work for now....just the 120hz bit is enough.
-
I don't find 3D all that great anyways, the 120hz is what I'm really looking for. I've read from practically everyone that the overall 120hz screen is just better and that it's much clearer compared to the 60hz panel that I have.
Just finished buying the panel from Amazon and the cable from eBay, both for $130. -
yes, and a small screw for the ir emitter
-
Attached Files:
-
-
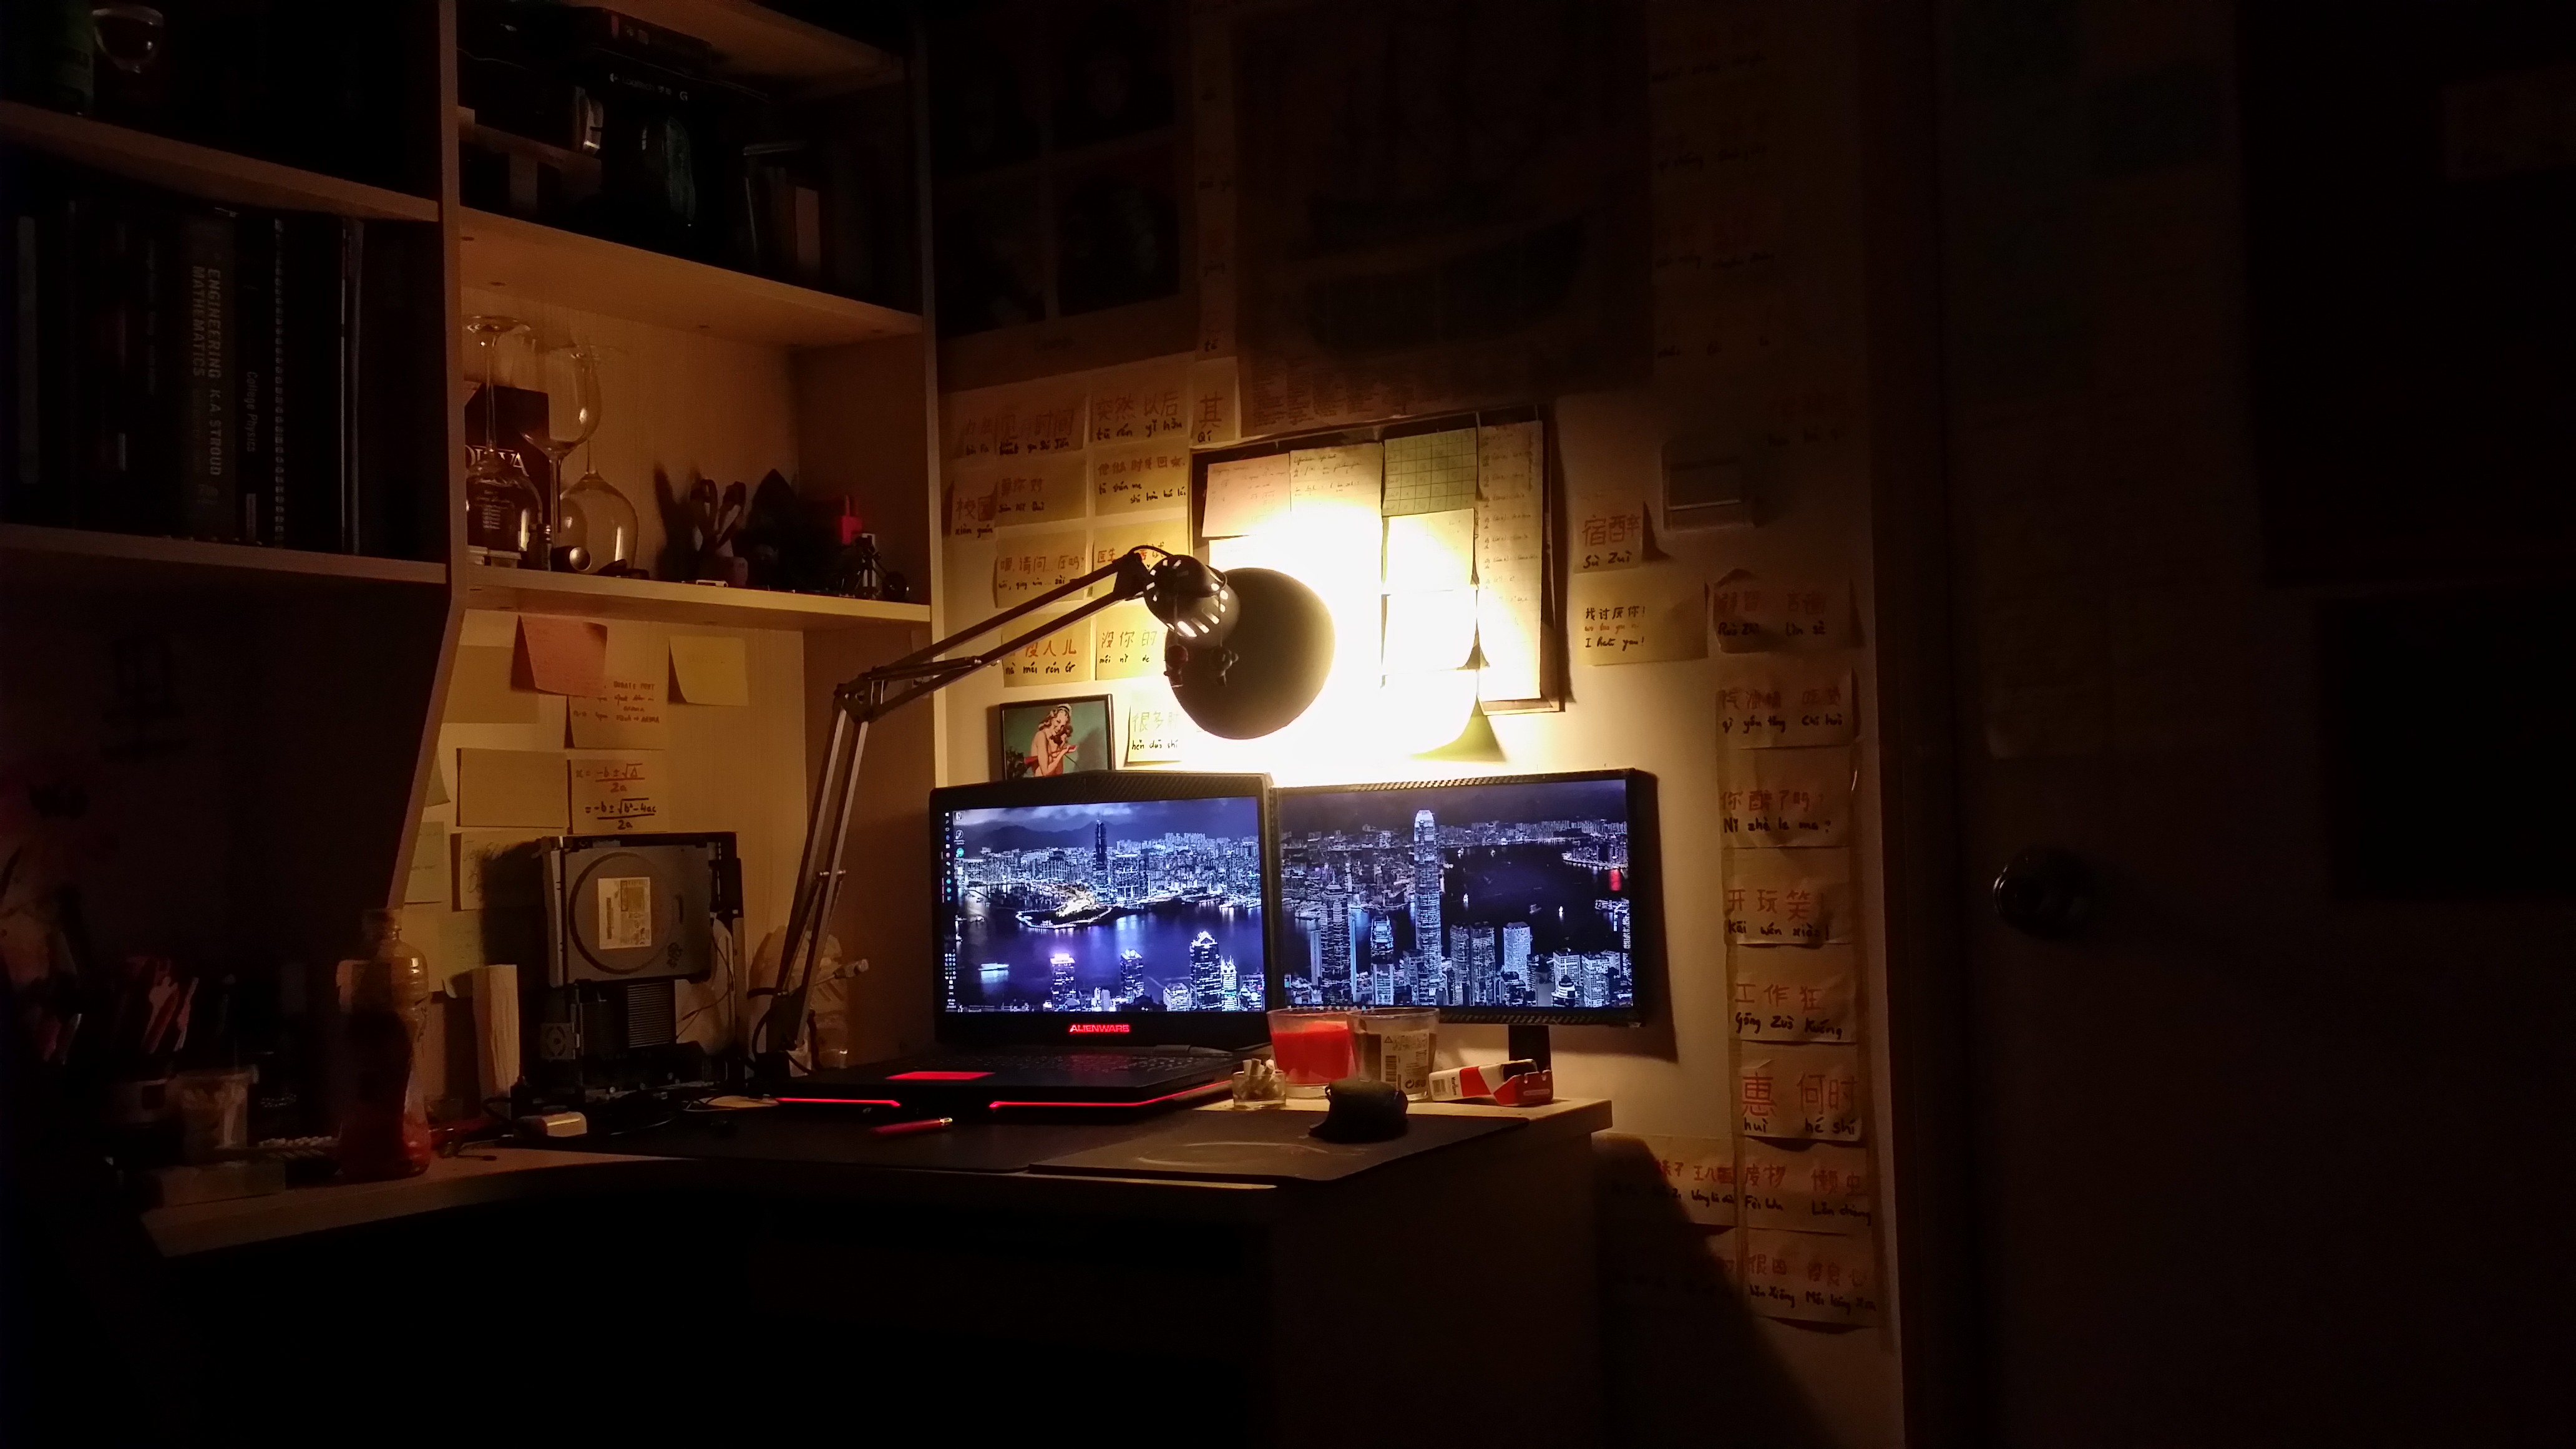
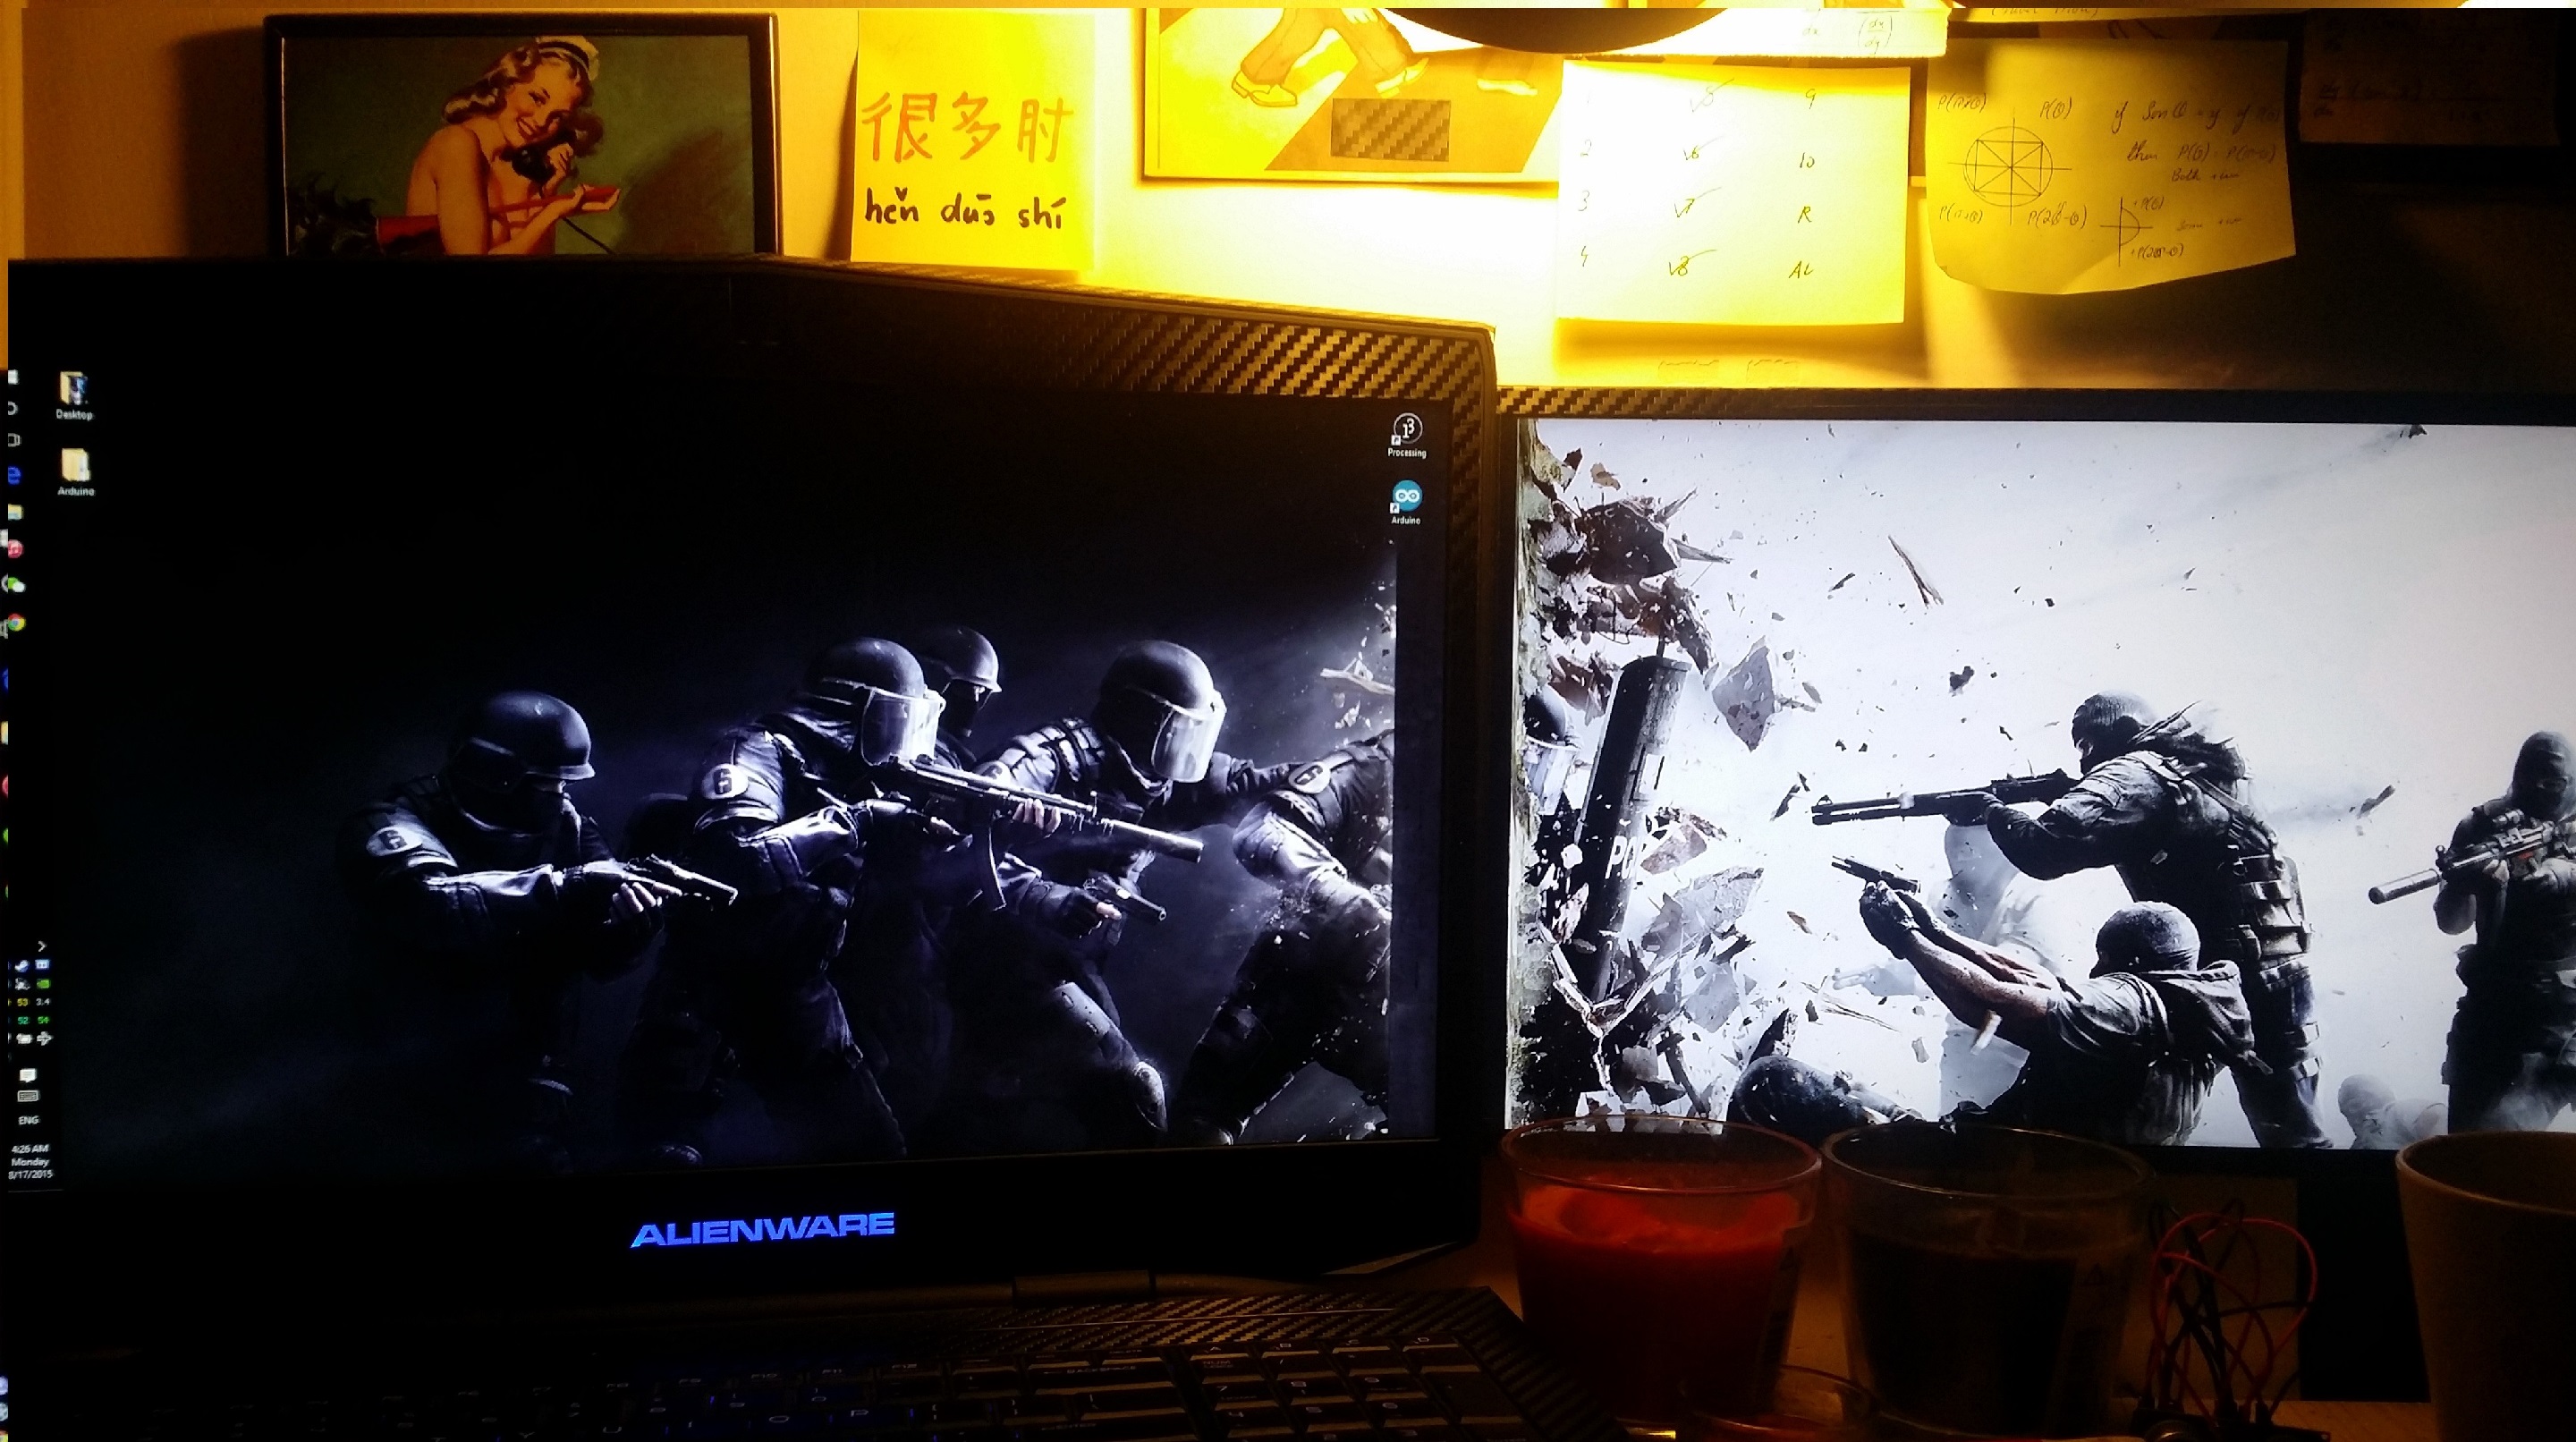
for those of you upgrading to a 120hz screen,
you dont have to waste your existing 60hz screen,
heres what i did with my screen.
if you need more details, let me know and ill upload a tutorial/part listAttached Files:
soccer3player likes this. -
-
if you need help with buying from china, i live in mainland china, i am doing an exchange program with university of Nottingham, and i speak mandarin/chinese pretty well, and since i already have back of china/unionpay/alipay, i can help you with buying stuff from china. and no one here uses aliexpress, as its really expensive, we use "taobao.com" which is much much cheaper and better.
-
thats the wire that goes into the IR emitter,
Attached Files:
-
-
awesome use of your old monitor, I'd very much like to see how you did this.
-
i bet they just left it plugged into the LVDS port!
actually, you can buy LVDS to HDMI boards.
EDIT: though I would like to see their solution as I don't feel or have any inclination to do any soldering.Last edited: Aug 22, 2015 -
this might be what i am looking for:
http://www.ebay.ca/itm/HDMI-DVI-VGA...1-B173HW02-V1-V-1-1920-1080-USA-/361291402775
will probably do this once i get my 120hz cable. -
Besides removing the screws from the battery and taking it out, is there any other disassembling I have to do not counting the screen?
-
to replace the panel? all 22 screws that hold down the keyboard / touchpad panel.
-
-
When's the cable due? It's seems like it's been an eternity since we first messaged each other about it...
Sent from my iPad using Tapatalk -
Had to order from another seller on Amazon.
EDIT: it was supposed to be today but i missed the delivery
Last edited: Aug 26, 2015 -
The screen i bought from amazon finally arrived. Now all I'm waiting on is the cable which I bought from eBay and should be arriving around next week since it shipped from China.
-
Feel kinda sorry for you guys. I ordered both components, and they arrived within 3-4 days. It was really quick. Screen arrived the very next day (express shipping) and the cable took a bit longer, since I ordered it on a Friday.
-
the cable arrived and the first thing i did was install it into my AW17 R1....F*** YEAH!
-
congrats!! how's the difference from 60hz to 120hz? what are your thoughts on it so far.
-
Congrats, finally your are enjoying a new experience of 120hz
There's no going back now
Sent from my iPhone using Tapatalk -
So nice I tell you LOL
To me it just means more fps head room, so if it's still above 60fps I am ok.
Using the desktop is pretty significant as the mouse cursor so much more smoother.
Sent from my HTC One using TapatalkLast edited: Aug 28, 2015 -
Hi mate
Its just just about more headroom, you should see a difference in gameplay, in theory it should be smoother. I noticed lots of differences
Sent from my Lenovo K50-t5 using Tapatalk -
I just received the cable and I already have the screen!! I'm a bit nervous about the upgrading part and was hoping anyone that has upgraded their screen in an R1 could message me about the process.
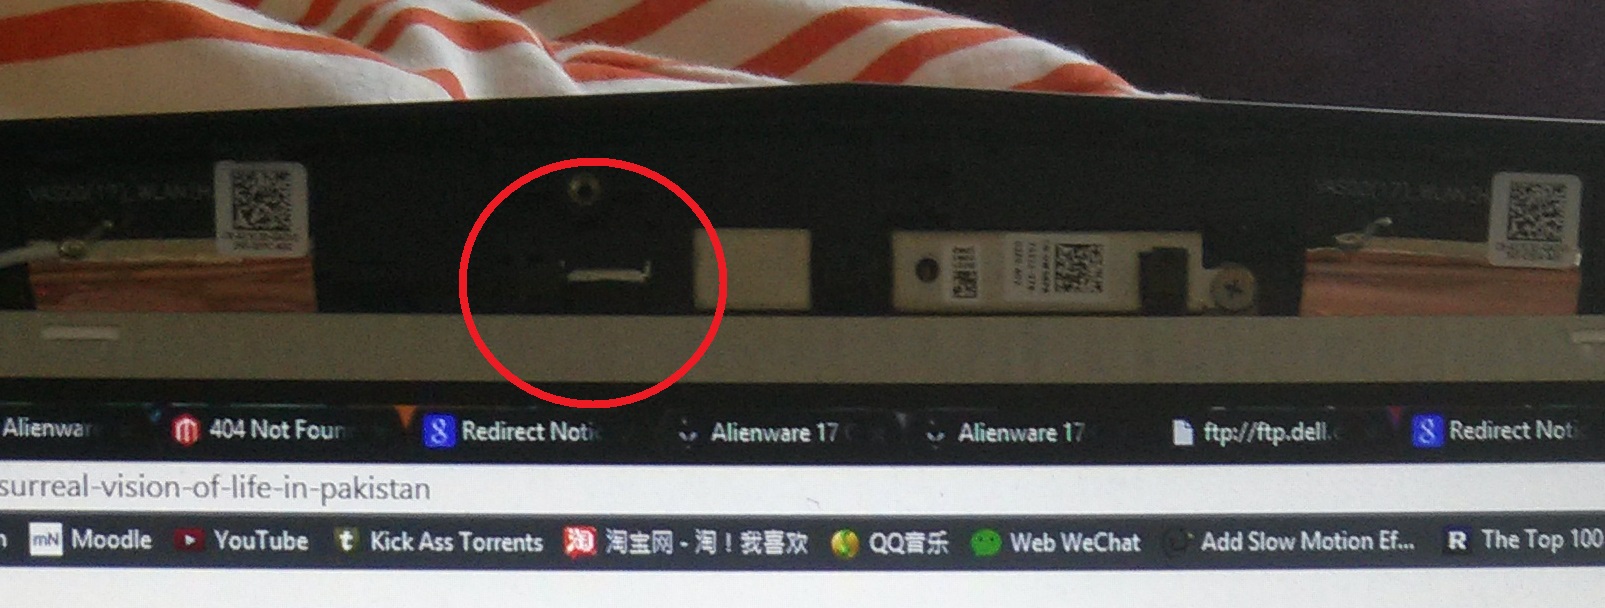
Also I was told the C01 Screen doesn't work and after checking the screen I bought I fear it might be just that revision. http://puu.sh/jT5Rw/5a191a704a.jpgLast edited: Aug 29, 2015 -
yes, a P01 or D02 are preferable as they do work. Laptopscreen.com should have the P01.
The process is quite simple:
1. uninstall the nvidia drivers and wipe using DDU.
2. unplug from PSU.
3. remove the bottom panel, disconnect and remove the battery.
4. remove the ODD and HDDs.
5. unclip the ribbon cable covered by the ODD bay.
6. remove all 22 screws as identified in the manual.
7. slowly pop off the keyboard and touchpad panel and disconnect the small ribbon cable that connects the power button to a daughter board.
8. using a spludger tool, carefully pop off the bezel cover.
the display cable feeds through the right hinge.
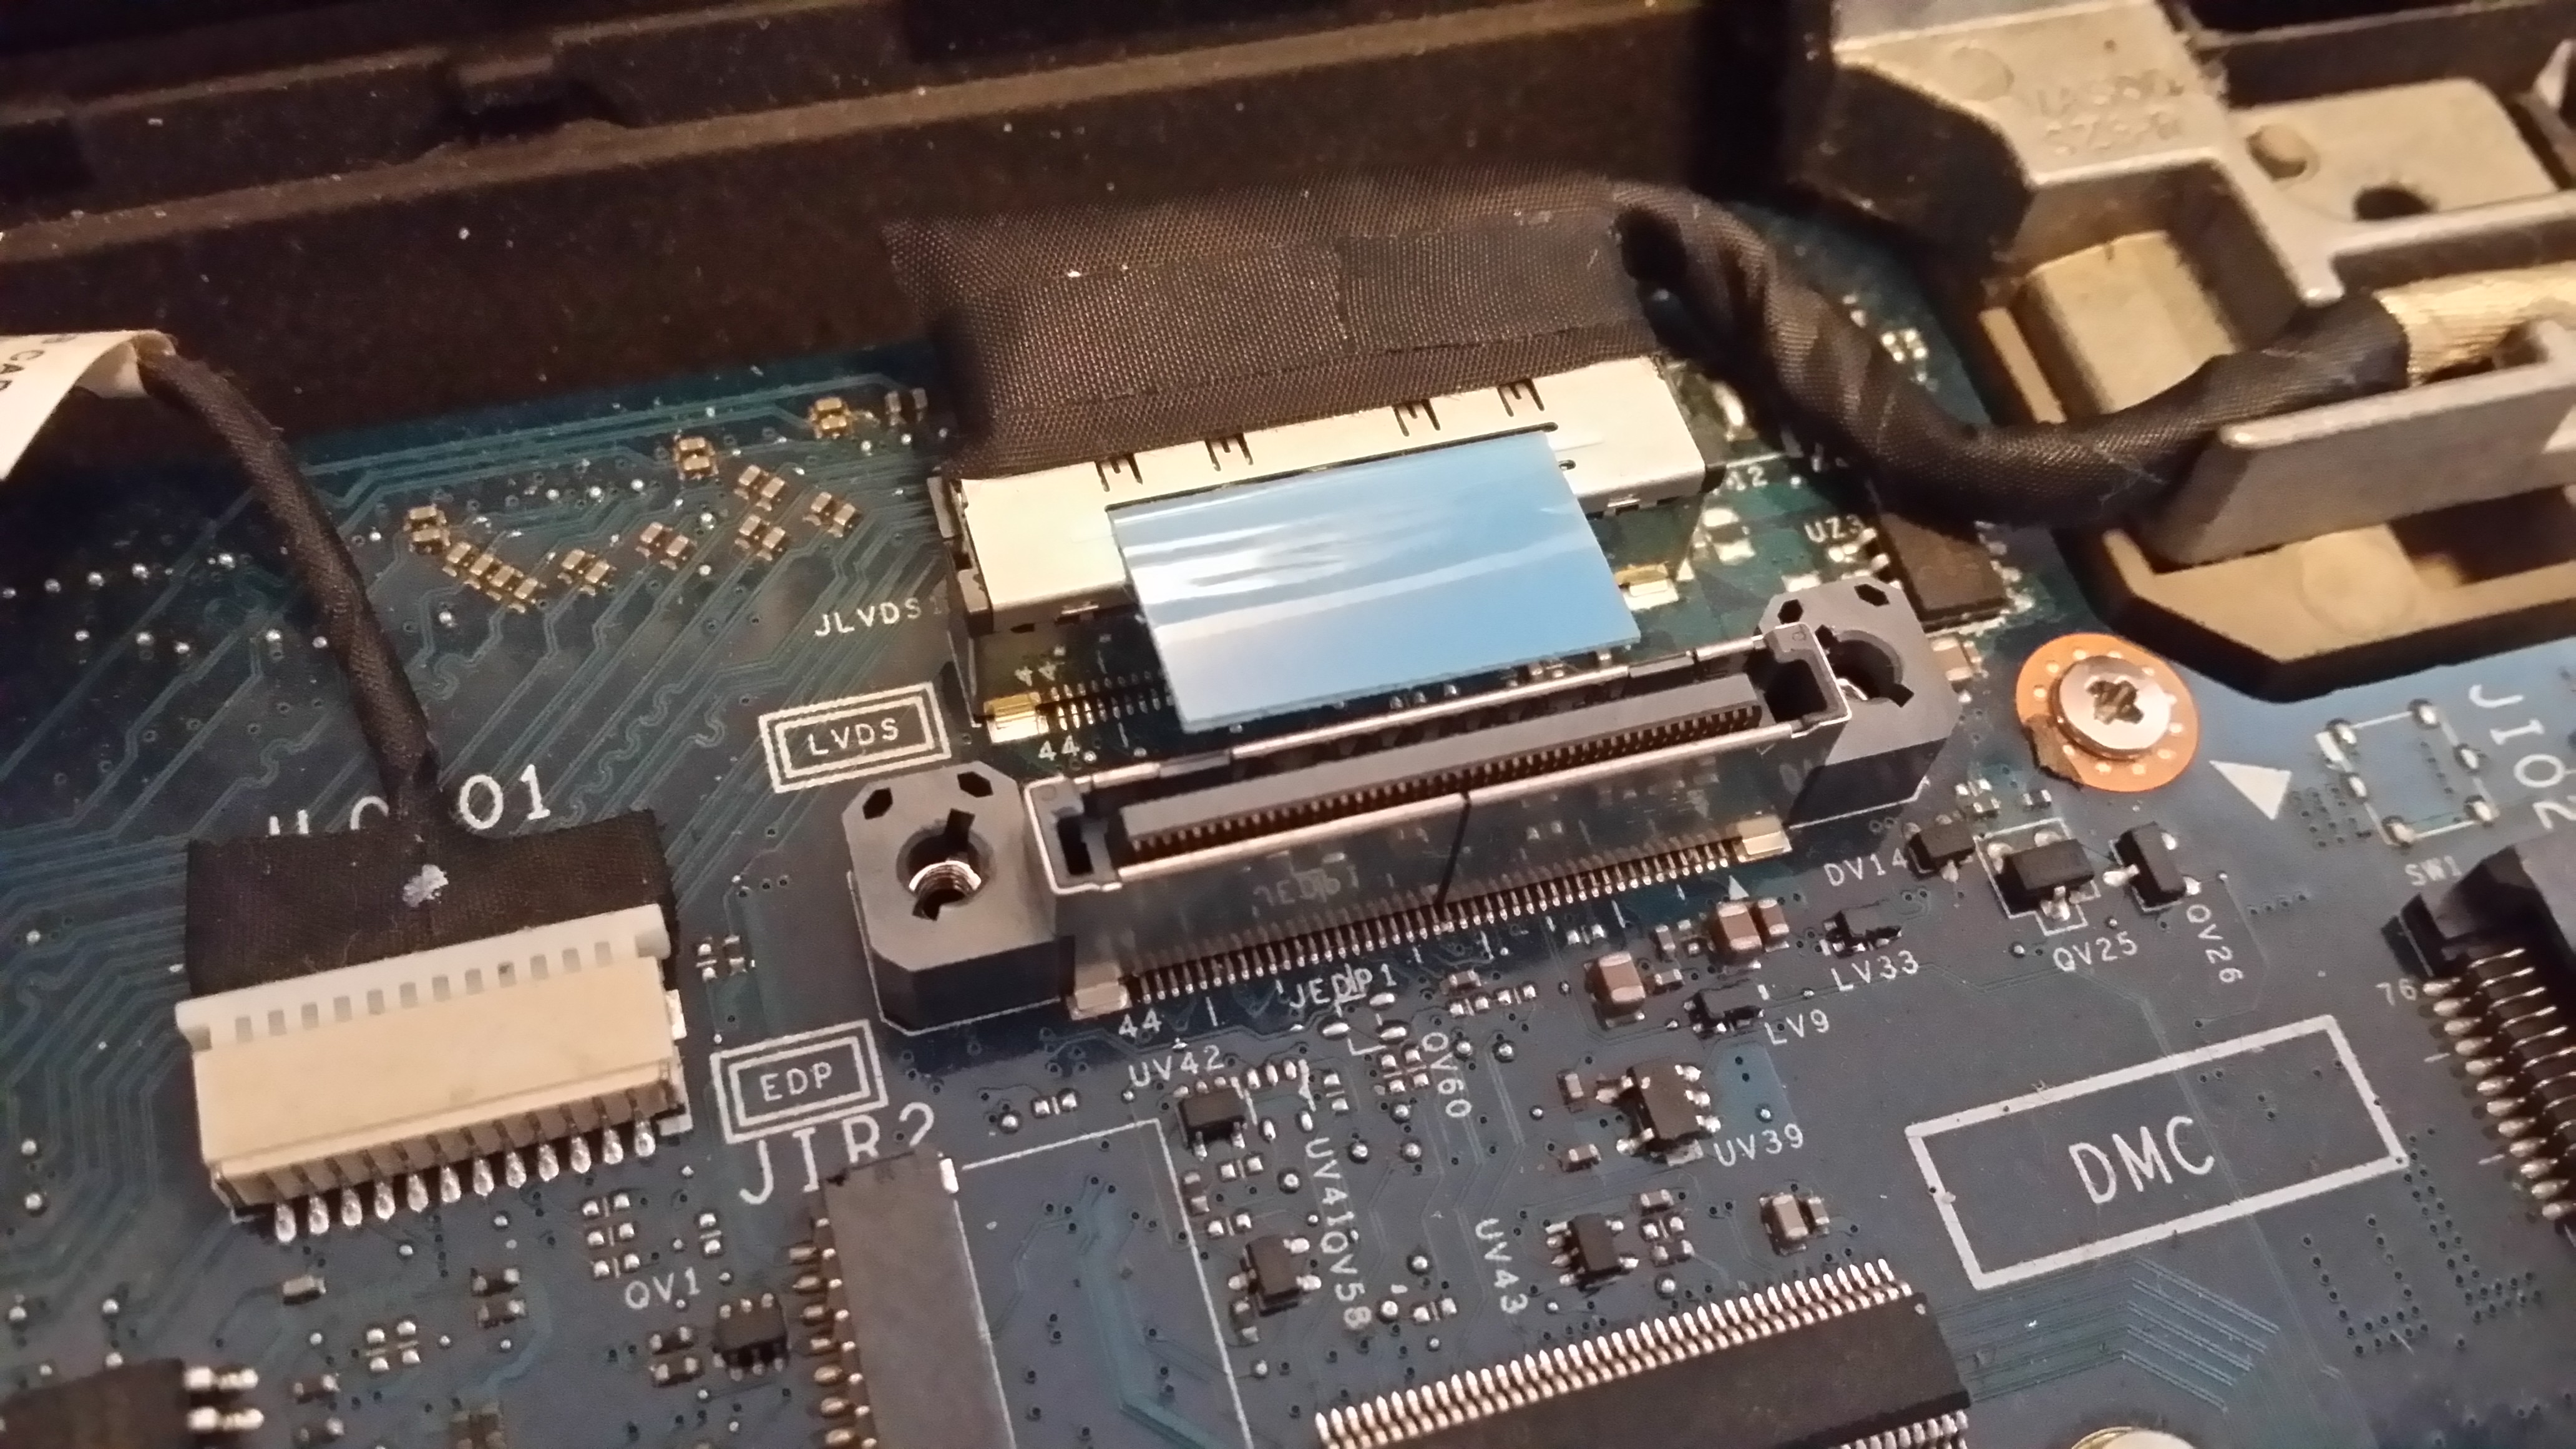
9. unplug the cable from the LVDS port.
10. unscrew the 6 screws holding the panel in place.
11. unscrew the 3 screws holding the right hinge in place.
12. disconnect the camera.
13. carefully remove the display cable from behind the hinge.Klk450 likes this. -
thank you for the run down, I'm emailing the seller of the screen to get a refund and order the correct one, slightly disappointing as their ad said it was the D02 model and I'll have to wait for some sweet 120hz =(
-
laptopscreen.com is reliable they have warehouses in the US, Canada and the UK if you're near any of those locations.
more steps
14. remove the 6 screws from the sides of the panel that hold the panel in the chassis.
15. get the new screen, and plug in the cable. it slides from the bottom so you need to push up.
16. remove the protective adhesive sheet and apply it to the back of the panel. there is 2.
17. attach the support bars and screws.
18. feed the cable through the right hinge and the provided grooves.
19. plug the cable into the EDP port (the bottom one, the LVDS is the top port).
20. plug in the small white cable. while this doesn't do anything since you don't have the emitter or have support for 3D then it's optional - i do this to make sure there's nothing loose or potentially break the system.
21. plug the camera into the cable.
22. screw the panel back into place.
23. screw the right hinge back.
24. put the bezel back into place.
25. put the keyboard panel back into place and reconnect the ribbon cable to the daughter board.
26. screw back in all 22 screws.
27. plug the ribbon cable in the ODD bay back.
28. return the ODDs and HDDs.
29. return the battery.
30. return the bottom panel.
31. boot with DSE disabled and install drivers then reboot.Last edited: Aug 29, 2015Klk450 likes this. -
Thank you for the steps, I was tempted to try the screen regardless but considering I haven't done this type of upgrade before and how long it seems, I rather wait till I know I have the screen that has been proven to work.
-
So long as you get a P01 screen you'll be fine.
EDIT: since the cable from the ebay seller never showed up after 5 weeks i have asked for a refund (minus the shipping costs).Last edited: Aug 29, 2015
120Hz 3D Screen upgrade for Alienware 17 R1
Discussion in 'Alienware 17 and M17x' started by MogRules, Aug 3, 2014.